Last year Zac Builds took a fifth-gen iPod, gutted it, and handed it back to the world with USB-C, Bluetooth, and a transparent face that made it look like a mechanical watch. You all loved it, and so did I. Now the Canadian YouTuber has turned his tri-wing screwdriver on Nintendo, and the Game Boy Color is getting the resurrection treatment. Same playbook, same clear plastic, same refusal to let a beloved gadget die of old age. At this rate I’m genuinely curious which 90s icon he rescues next, and my money is on the Tamagotchi.
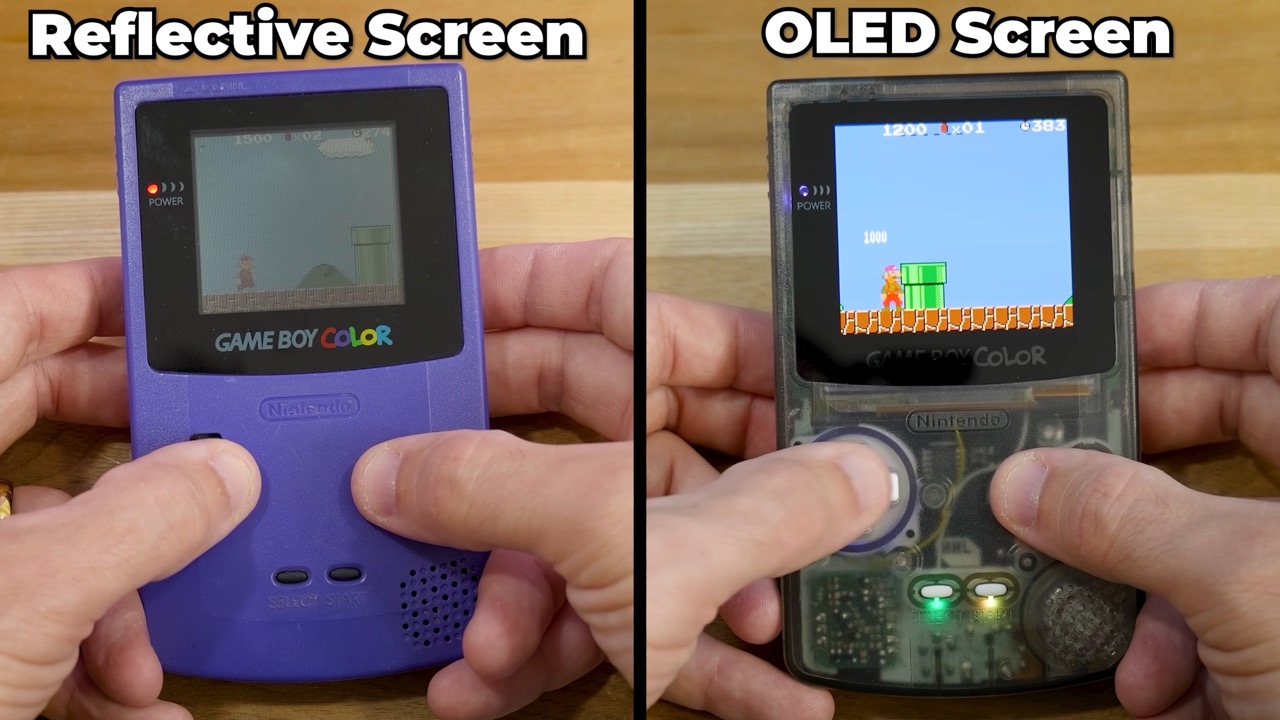
The 1998 Game Boy Color had a lot going for it (Pokémon, mostly), but its hardware hasn’t aged gracefully. The screen had no backlight, the mono speaker was weak, and two AA batteries ran the whole show. Zac keeps the original Nintendo motherboard and rebuilds everything around it, starting with a vivid OLED display that makes the old reflective panel look like a sheet of wet cardboard. A lithium-ion battery brings USB-C and wireless charging, a dedicated amp and regulator make the speaker louder and practically hiss-free, and RGB lights glow under every button. An EZ Flash Jr cartridge then squeezes the whole game library onto a single microSD card.
Designer: Zac Builds
A 2013 phone screen gives the Game Boy Color its eyes back
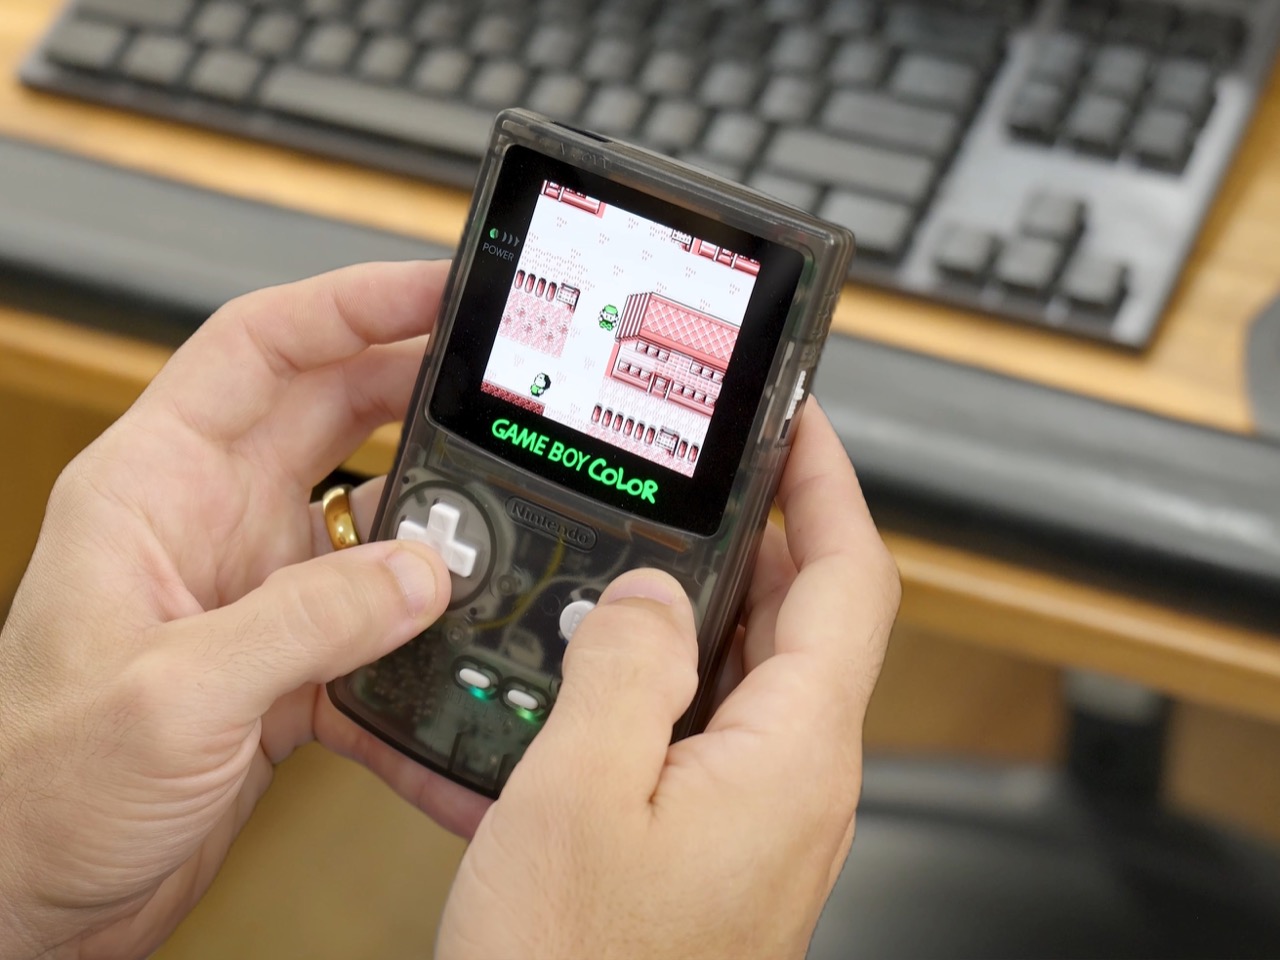
Zac calls the OLED display the best single upgrade you can give a Game Boy Color, and the side-by-side shots back him up. The panel fills a larger window than Nintendo’s original, and its self-lit pixels let Super Mario Bros. Deluxe pop without a desk lamp overhead. It also sits under real glass, which looks more premium and holds up better than the old plastic lens. Zac suspects the panel started life in a phone, and kits like his are reported to use screens from the BlackBerry Q10. A phone that lost the smartphone war ended up rescuing a Game Boy, which is karma working overtime.
A touch menu on the screen itself handles settings, letting Zac adjust brightness, add faux scan lines, and change the color of the glowing Game Boy Color logo under the display. He finds the touch controls a bit clunky, which is fair, since jabbing at your game screen feels very 2026 for a 1998 console. Installation is refreshingly simple by modding standards. The screen presses into a precut shell at a slight angle, an adhesive ring holds it in place, and a single power wire runs to the power switch’s C pin, held down with Kapton tape. Pokémon Red has honestly never looked this crisp.
USB-C charging, with weird ‘Magic Mouse’ port placement
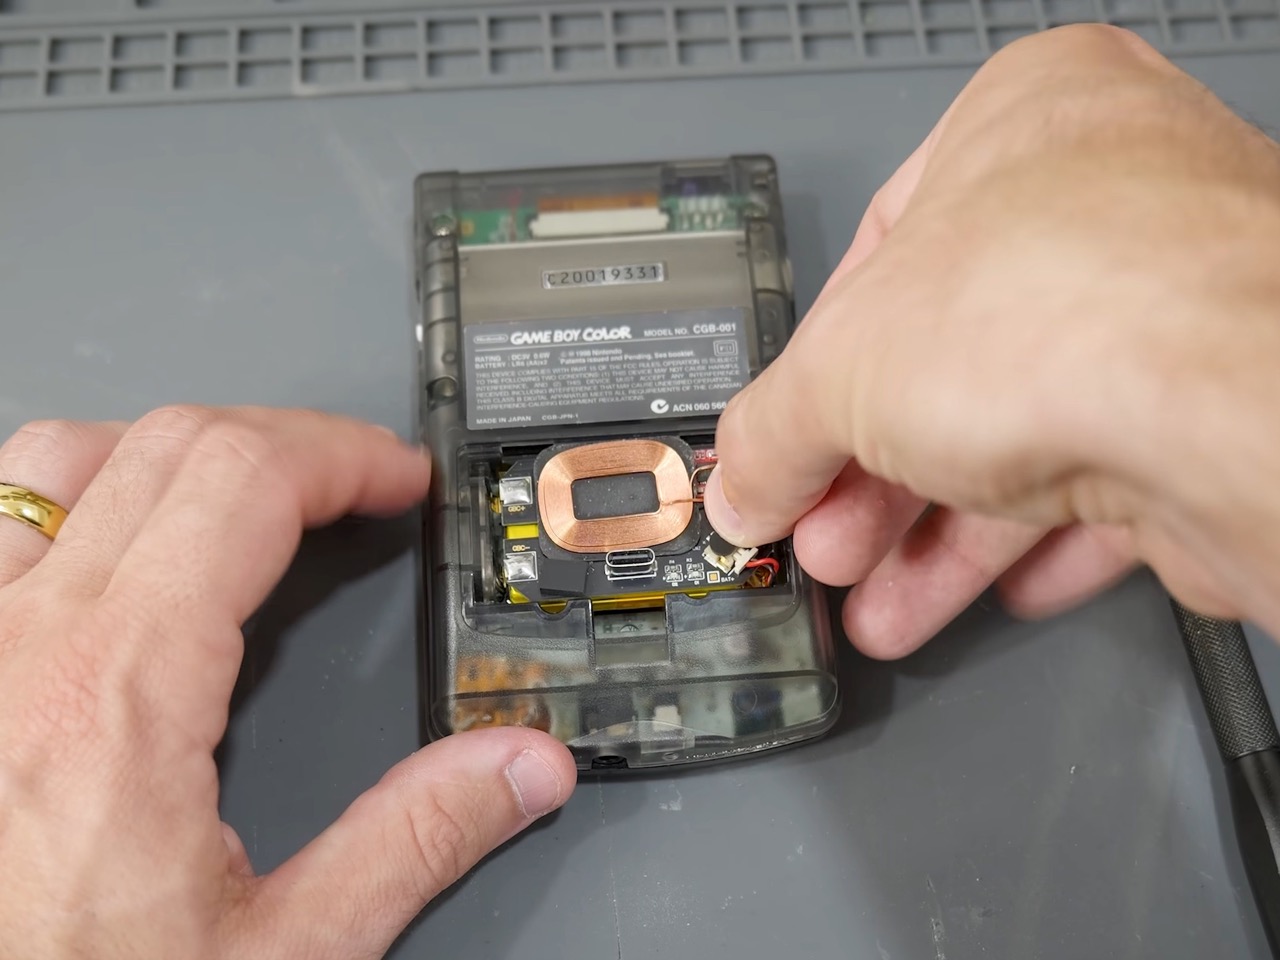
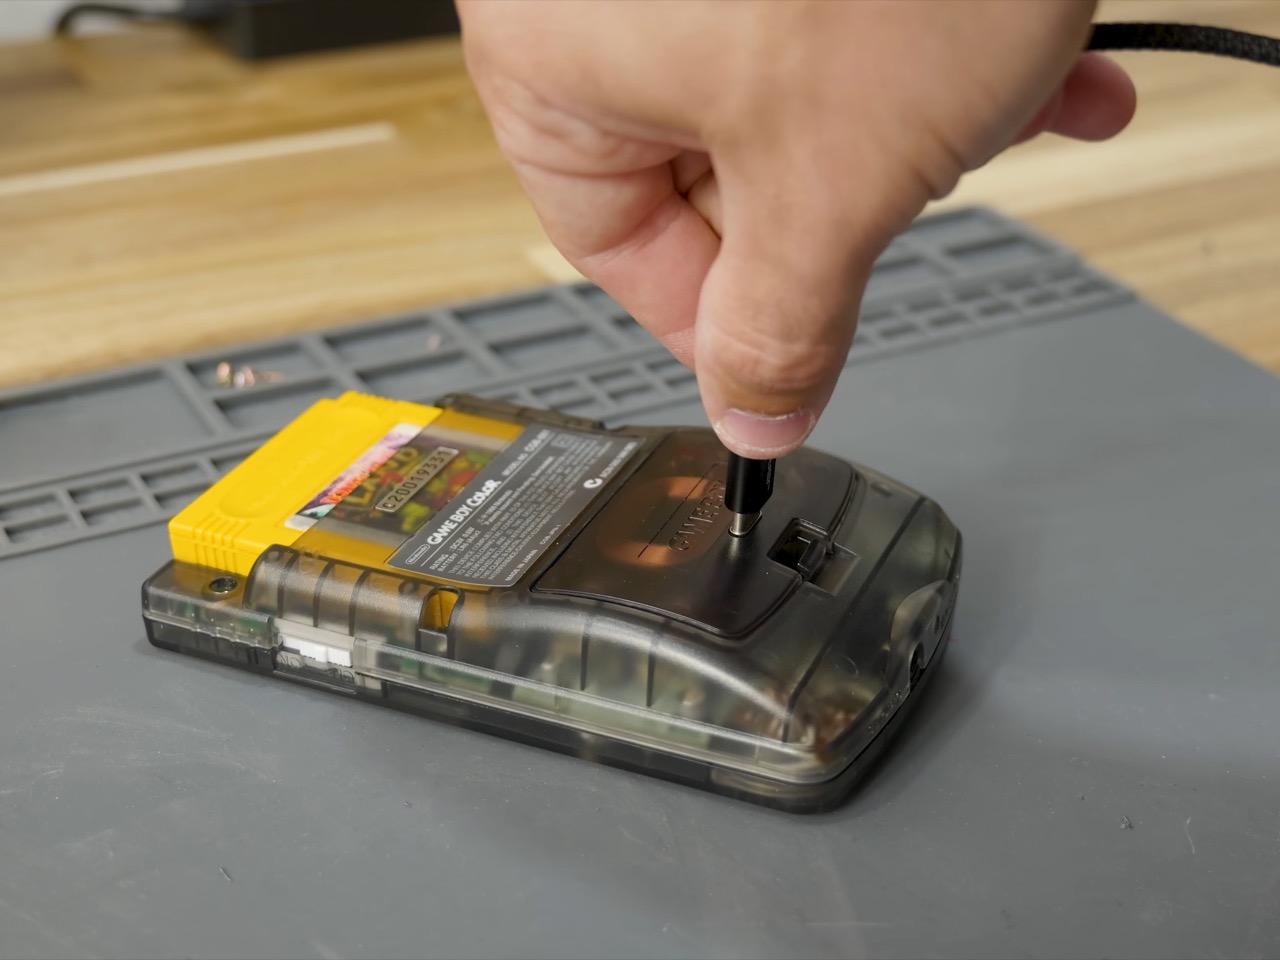
On first boot, the modded console played audio while the OLED stayed black, and fresh AAs fixed it instantly. The culprit was voltage sag, with the new hardware’s startup load dragging tired batteries below what the screen needed. Zac’s permanent fix is a lithium-ion pack with more capacity, a higher voltage, USB-C charging, and a wireless charging coil, good for what he estimates is well over eight hours of play. The USB-C port lives on the back panel, so charging sends a cable sprouting out the rear like a tail, which gives off serious Magic Mouse energy. Thankfully that coil lets you skip the cable and drop the console on a wireless charging pad instead.
The new speaker and its flex-PCB amp brought extra volume along with a loud hiss, because Nintendo’s 28-year-old regulator was never meant to feed an OLED, an amp, and a set of RGB LEDs at once. Zac’s answer is a replacement regulator from Helder, a longtime name in the Game Boy modding scene, which smooths out ripple on the console’s shared 5V rail. The board also brings a solid-state capacitor with more than five times the capacitance of the part it replaces. The hiss dropped to a trace you can only hear with the speaker an inch from your ear. Every flashy upgrade here leans on unglamorous power hardware, and Zac is refreshingly upfront about that.
RGB buttons and a smoke shell that puts everything on display
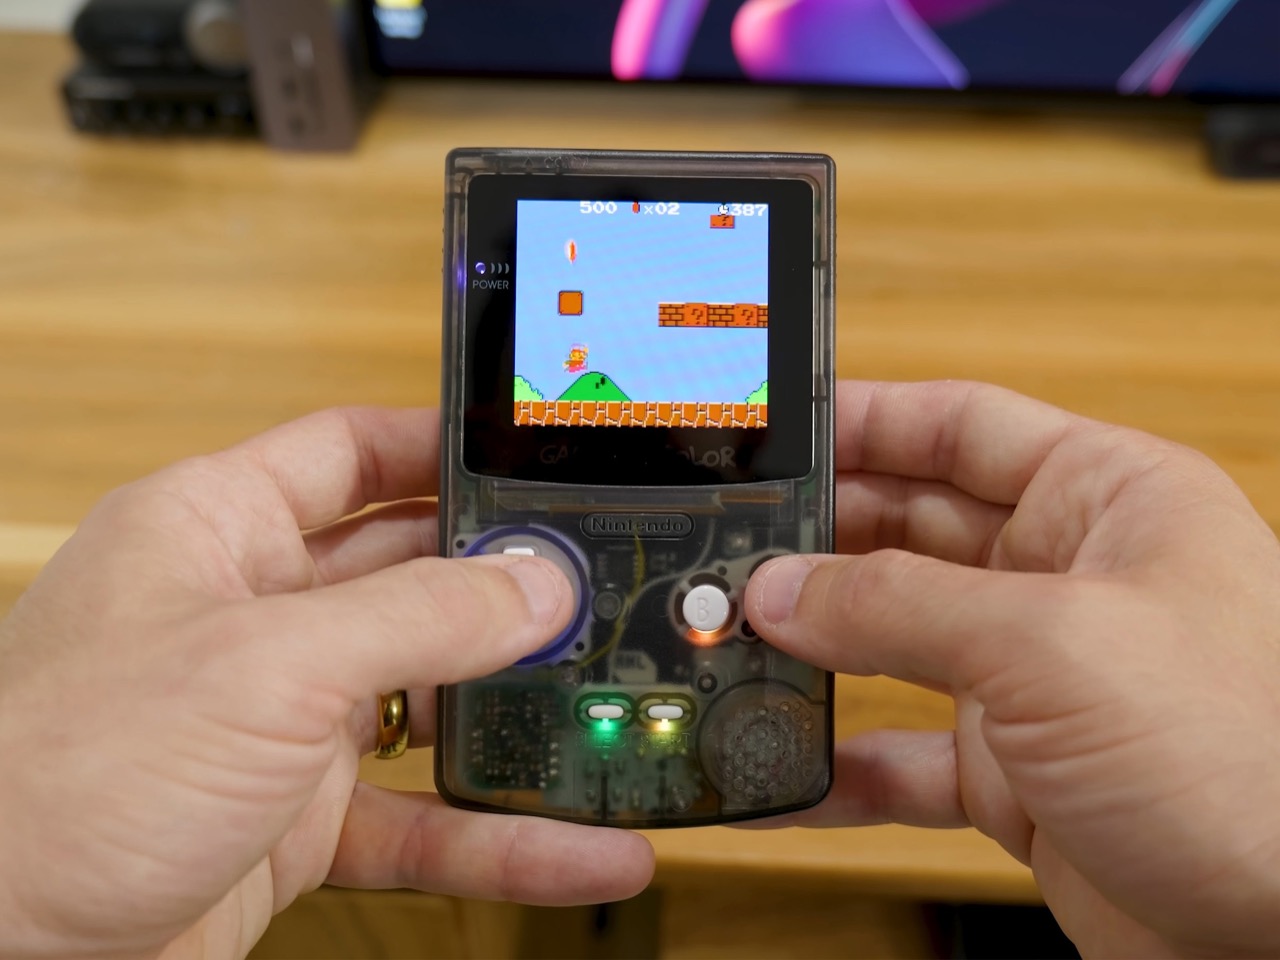
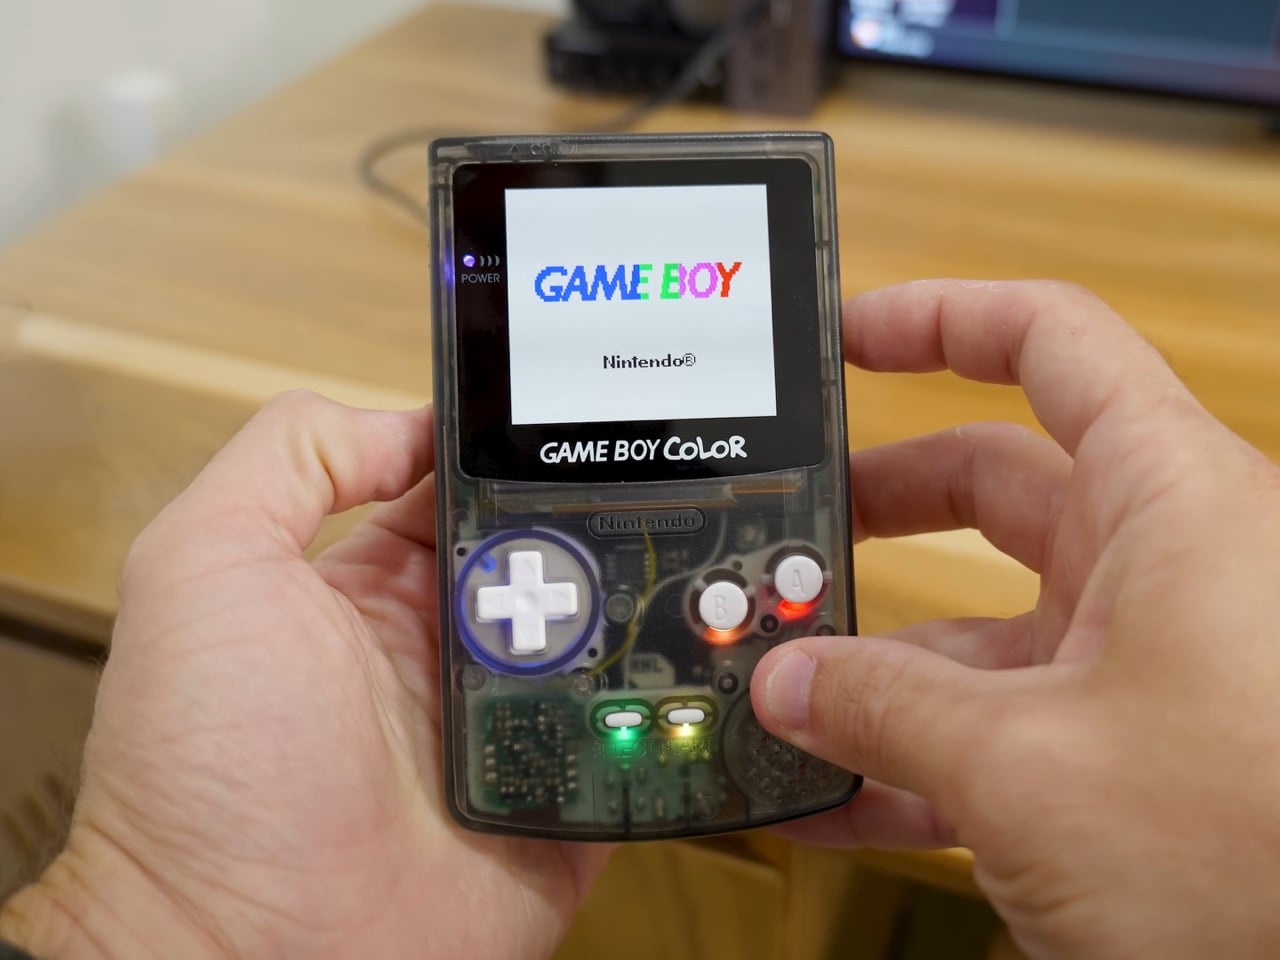
An individually addressable RGB LED sits under each button and replaces the original power LED, with the colors controlled through button commands. In the photos, the D-pad gets a blue ring, A and B glow red, and Select and Start pick up green and amber. Installing it takes roughly a dozen solder joints, and Zac recommends anchoring the 5V and ground pads first so everything else lines up. Before any of that, he cleaned the board with isopropyl alcohol, swapped all three aging capacitors, and fitted fresh white silicone membranes to fix the sticky buttons. The finished console still feels crisp, despite all the wiring now packed beneath those buttons.
The precut smoke-transparent shell ties the build together, putting the lighting, the amp’s ribbon, and the motherboard on full view. It also brings a larger screen opening and drops the original battery divider to make room for the new pack. Clear plastic has deep roots here, since Nintendo sold the Game Boy Color in Atomic Purple back in 1998, the same year Apple’s Bondi Blue iMac G3 made translucency cool. Modders have pushed that idea hard lately, with Natalie the Nerd’s fully transparent Game Boy Color even swapping in a see-through circuit board. Zac’s version keeps Nintendo’s original green board in plain sight, which suits a build that celebrates the real hardware.
An overclock that breaks the screen, and a cartridge that holds everything
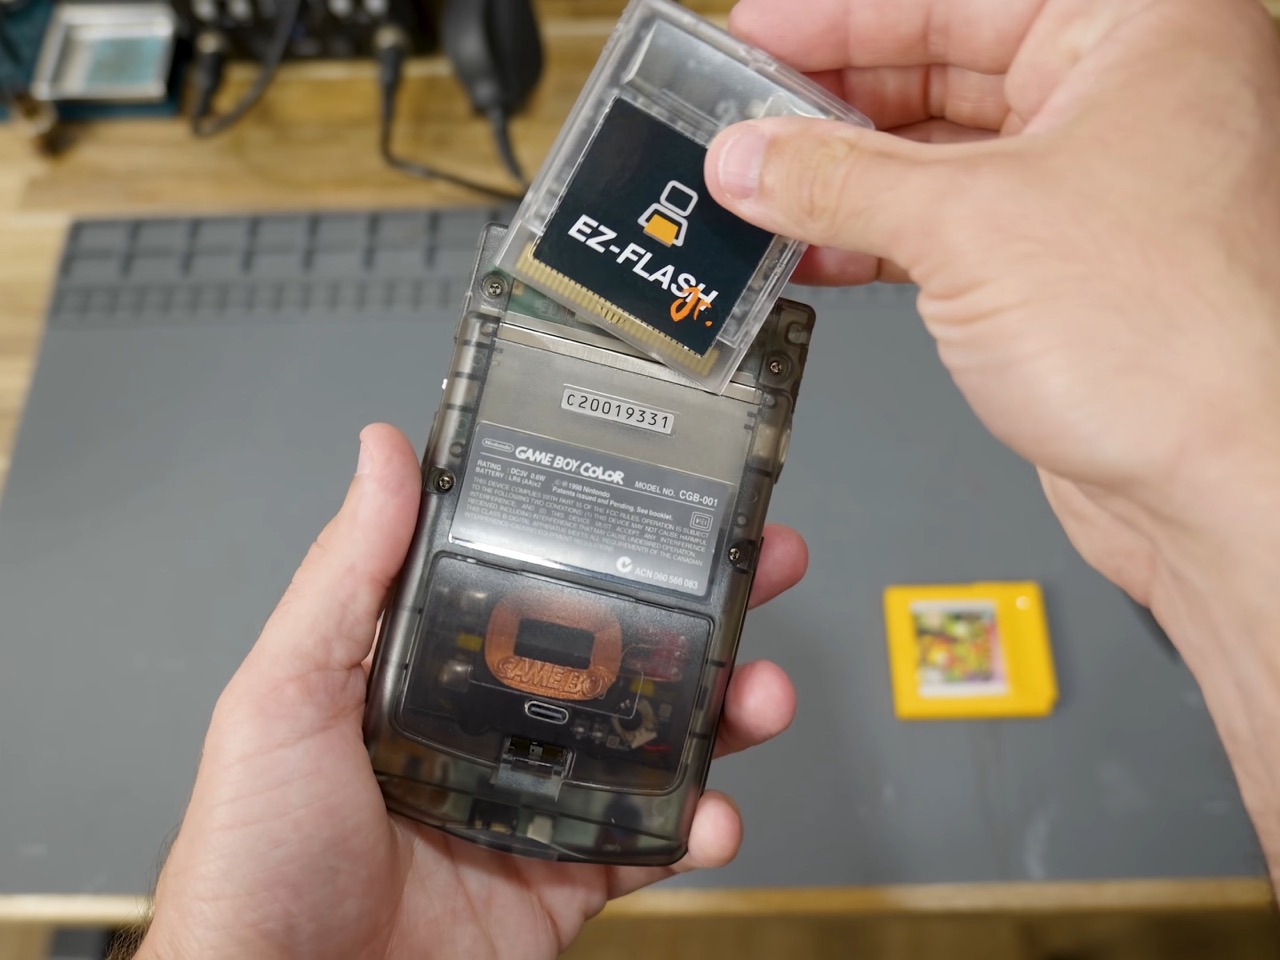
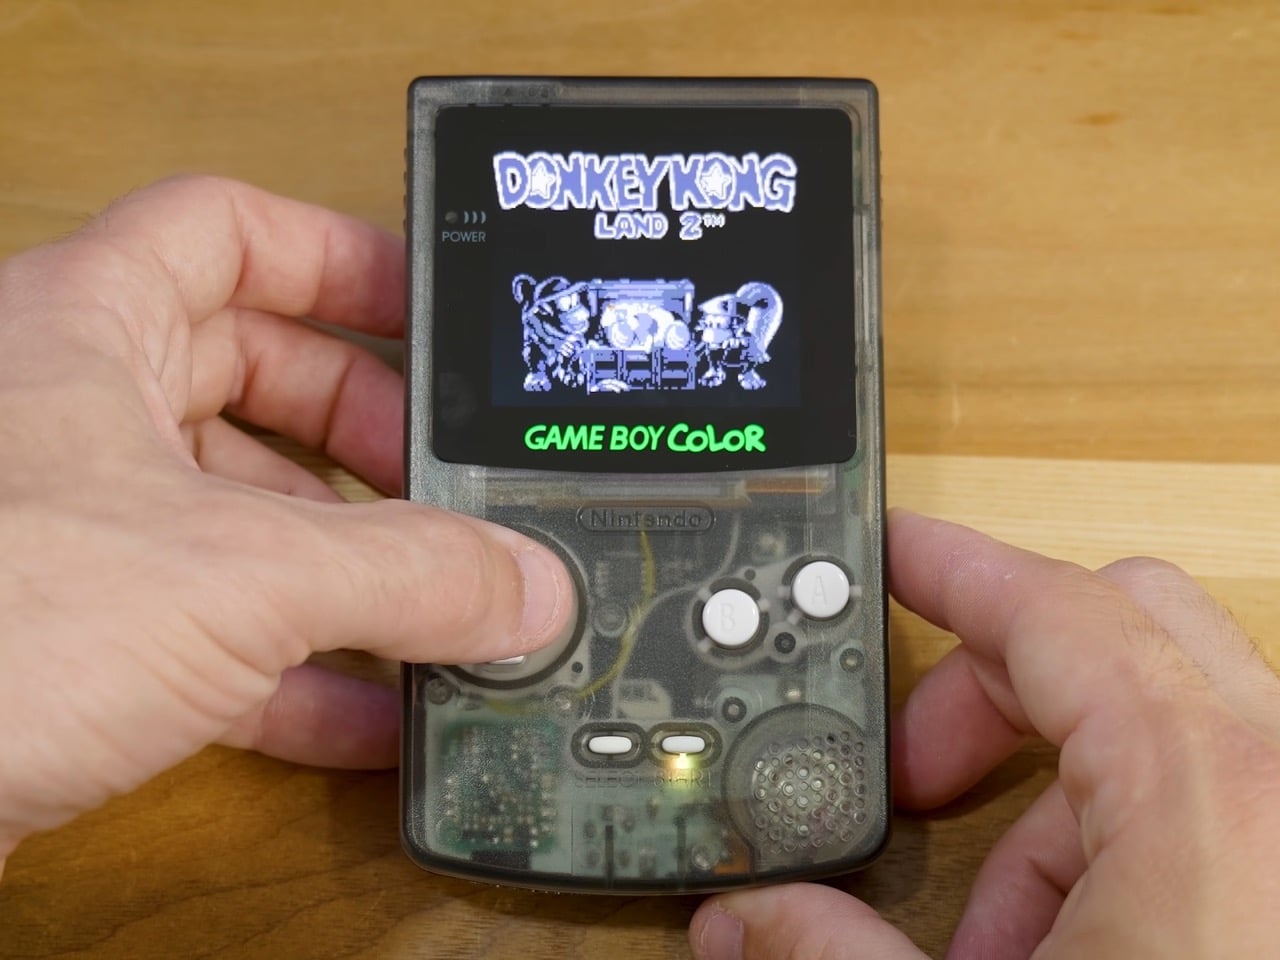
Zac’s most ambitious mod replaces the crystal oscillator with a variable clock board, letting the console run slower or up to 50% faster with a button combo. Getting the old crystal off took hot air, heat shielding, and Kapton tape, and Zac flat out tells beginners to skip it. Underclocking works great and turns tricky platforming into slow motion. Overclocking keeps the game running, but the OLED loses sync and shows nothing, since the clock also governs display timing. Some IPS kits reportedly handle 1.3x or 1.5x speed, though Zac didn’t test one, and the OLED looks too good to give up anyway.
An EZ Flash Jr cartridge handles the games, loading Game Boy and Game Boy Color ROMs, homebrew, and hacks from a FAT32 microSD card, and Zac says even 8GB covers the whole library. Leave out the overclock and he reckons a similar build takes a couple of afternoons, mostly with off-the-shelf kits on an original motherboard. ModRetro’s $149.99 transparent Chromatic offers a ready-made route to a similar look, while Zac’s approach keeps Nintendo’s actual silicon at the heart of it. That makes this build feel closer to restoration than replacement. Nintendo built the Game Boy Color for AA batteries and sunlight. Zac rebuilt it for USB-C and midnight.