Starting a garden can be a fun as well as a meditative experience where you care for, nurture, and enjoy watching your plants grow and produce fruits or vegetables. Since starting a garden from scratch can feel overwhelming, let’s simplify it into manageable steps to maximize your space and enjoyment. While gardening fundamentals vary based on location, season, microclimate, soil, and plant preferences, here are some general steps to begin your first garden from scratch.
Image courtesy of: kryzhov
1. Consider Your Planting Options
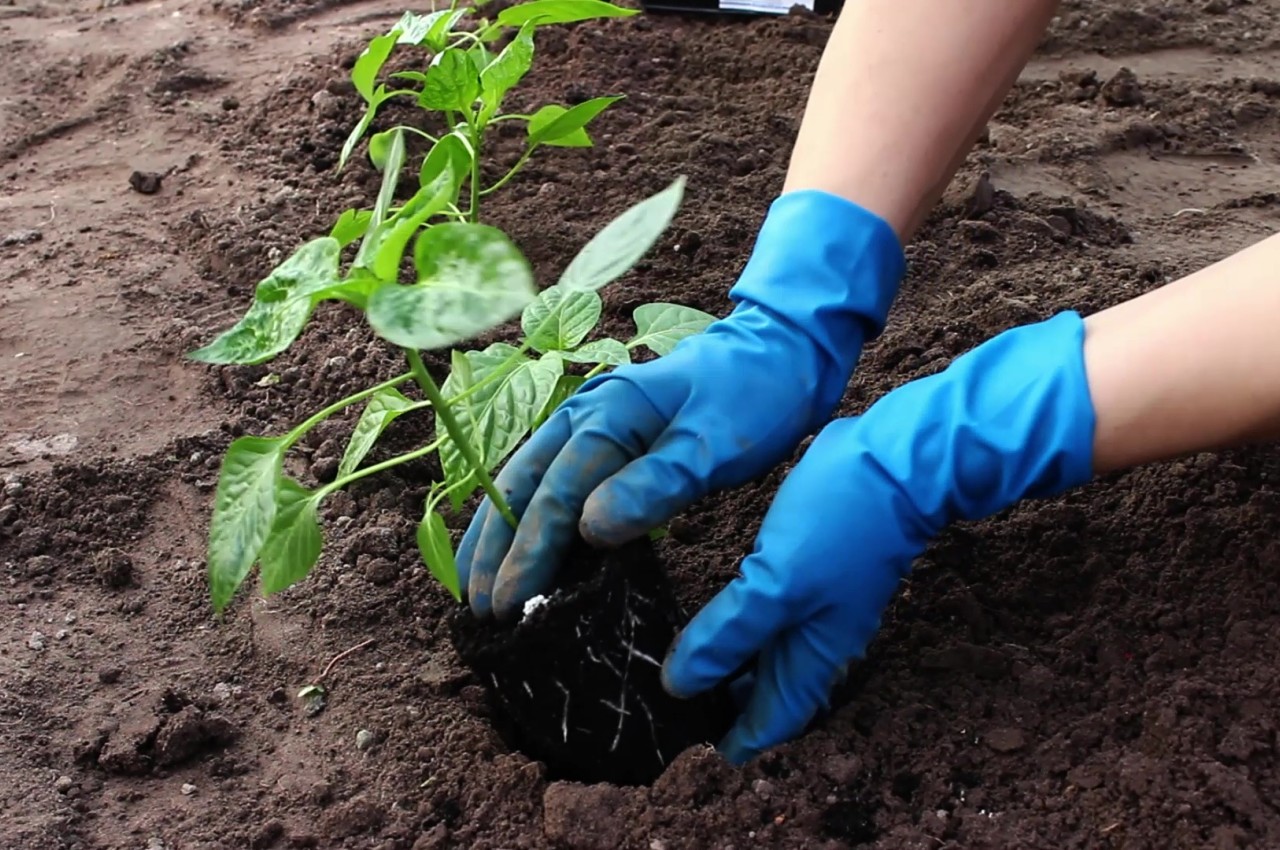
Image courtesy of: pokypkimoi
Before starting your journey of creating and nurturing your private garden, it’s important to understand whether you want a vegetable garden, a herb garden, or a flower garden. Whatever you decide, it’s good to grow vegetables your family enjoys, and for flowers, choose between annuals for long blooms or perennials for longevity. It’s always wise to start small and grow gradually until you feel comfortable.
2. Choose a Sunny Spot

Image courtesy of: uladzimirz
Observe sunlight patterns in your garden to determine plant needs for full sun, part shade, or full shade, and consult online resources for suitable species for your unique conditions. Most vegetables and flowering plants require 6-8 hours of full sun daily, so assess your yard’s sun exposure to identify suitable spots. Even if your yard is mostly shady, certain plants like impatiens and begonias can thrive. Select a flat area for your garden to avoid dealing with slopes, which can be more challenging and costly. Ensure convenient access to a water source for your garden’s requirements and consider the accessibility of your garden space for watering, harvesting, and tending to your plants.
3. Gardening Tools
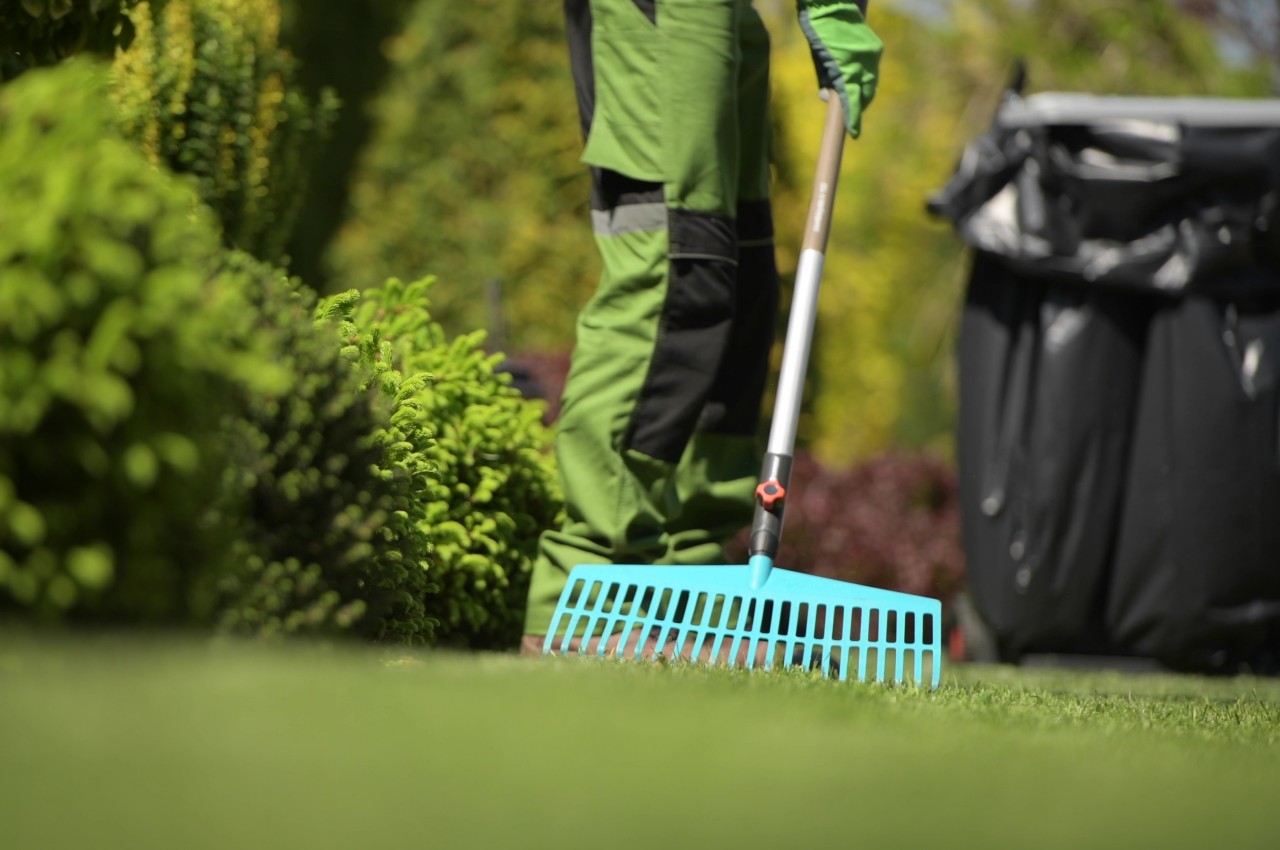
Image courtesy of: duallogic
Essential gardening tools are important to ensure the successful cultivation of plants. Pruning scissors are important for maintaining plant health, enabling precise trimming and removing dead parts. For soil preparation and planting, a spade, trowel, and garden fork are essential, allowing for efficient digging and root clearance. Watering equipment includes a garden hose for larger areas and a watering can for delicate plants, ensuring optimal hydration without damaging young growth. Combatting weeds necessitates tools like a forked trowel and gardening knife, enabling efficient removal to maintain the vitality of the garden.

Image courtesy of: BlackBoxGuild
Start by clearing the area of weeds and sod, which refers to a layer of grass and the soil beneath it that is held together by roots. For quick results, cut out the sod using a spade.
4. Test the Soil

Image courtesy of: jchizhe
Consider a soil test for insights into your soil’s composition, including nutrient deficiencies and recommended remedies, or opt for DIY kits offering basic insights. Based on your soil test results, amend your soil by adding necessary nutrients or adjusting pH levels to create the optimal growing conditions for your plants. Add 2-3 inches of compost to new beds during preparation or apply it to existing beds, allowing earthworms to incorporate it over time, improving soil structure and nutrient availability for plants.
5. Prepare the Planting Bed

Image courtesy of: Simol1407
Loosening the soil in new beds before planting aids root growth and nutrient absorption. Opt for manual digging, especially for smaller beds. Work the soil when moist but not overly wet or dry, about 6-8 inches deep, mixing in organic matter. Note that healthy soil contains numerous bacteria, fungi, and microbes, allowing plant roots to penetrate easily due to their suitable texture and structure, which is determined by the proportions of clay, sand, and silt in the soil.
Another way to garden is called no-till gardening. First, clear away any debris and grass. Then, spread a thick layer of compost over the area, at least four inches deep. If you’re dealing with tough weeds, you can try sheet mulching. This involves using cardboard to compost the weeds while keeping the soil intact. It’s also a good idea to keep your garden beds no wider than 4 feet so you can easily reach the center.
6. Choose Your Plants
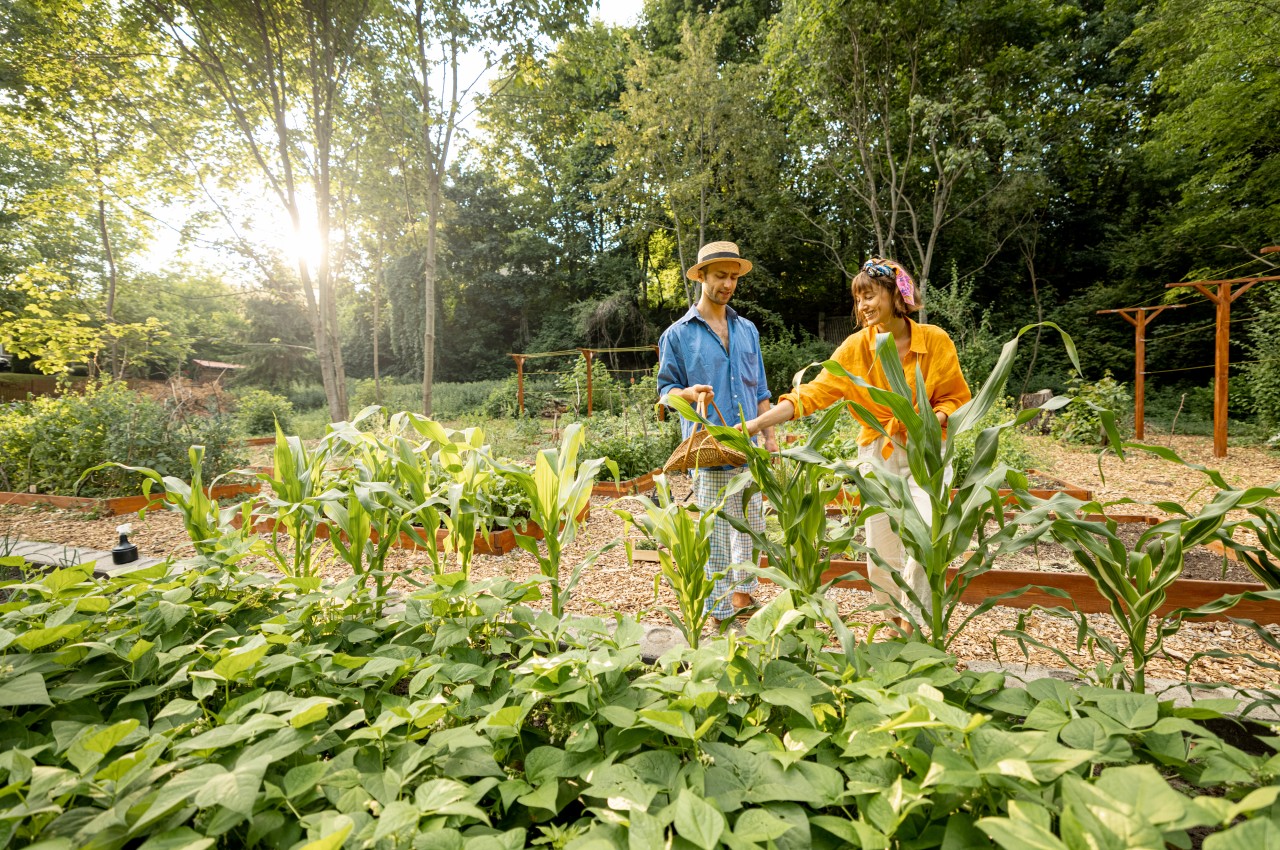
Image courtesy of: RossHelen
Opt for plants suited to your climate, soil, and sunlight conditions. You can also browse the internet for plant options. Here are a few beginner-friendly choices:
• Annuals: Marigolds, Petunias, Snapdragons, Impatiens, Zinnias, Geraniums
• Perennials: Black-eyed Susans, Daylilies, Hostas, 0Coneflowers (Echinacea), Sedum
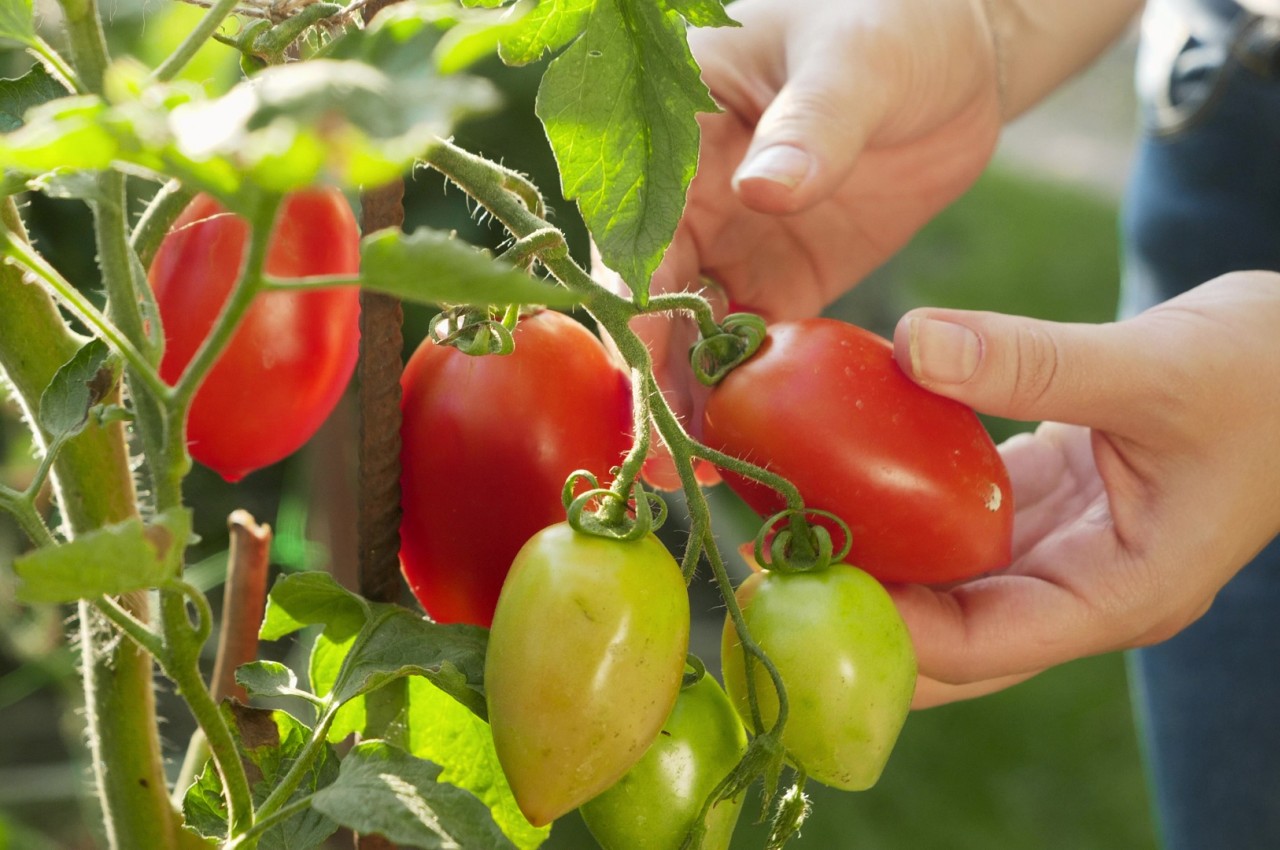
• Vegetables: tomatoes, Peppers, Lettuce, Carrots, Cucumbers, Squash (zucchini, yellow squash)
7. Plant with Care
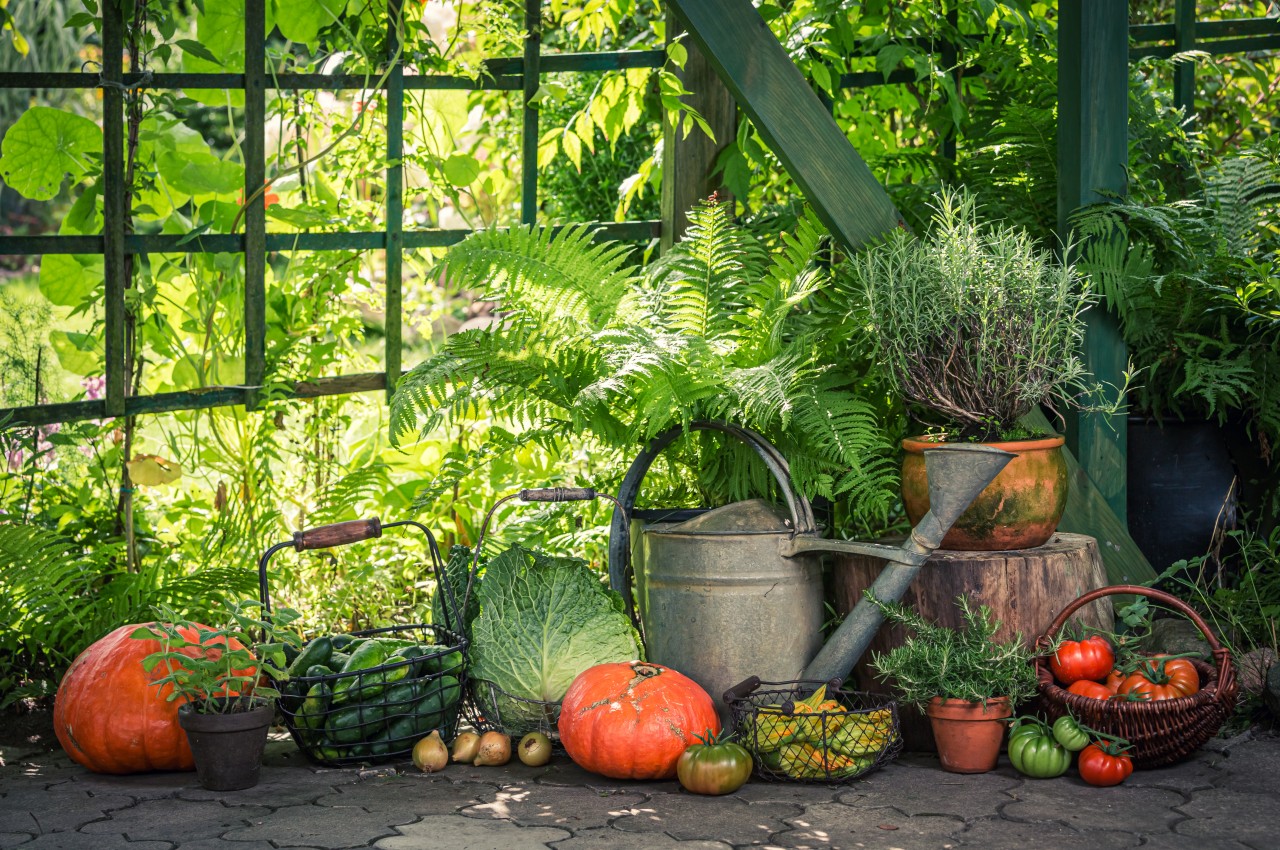
Image courtesy of: RossHelen
Most seed packets and transplant containers come with basic planting instructions. Once you’ve done the groundwork, begin planting. For seeds, follow guidelines such as planting them three times as deep as their diameter or as specified. Be cautious with seeds needing light for germination, ensuring they’re not buried too deeply. Transplants are usually planted at the same depth as in the pot, with exceptions like tomatoes. Wait until the danger of frost has passed to heat-loving plants. Young plants may require protection or hardening off before being planted outdoors.
When planting seeds, sow them at the specified depth on the packet, firming the soil gently, and water when the soil surface dries out. Some plants prefer cooler temperatures and can be planted in autumn or late winter, while others thrive in warmth and should wait until after the risk of frost has passed. Mid-spring and mid-autumn are optimal for planting perennials. Annuals can be directly sown in the garden or started indoors a few weeks before the last frost date. Alternatively, purchase young plants for transplanting into prepared beds and ensure proper watering after planting.
8. Start Watering
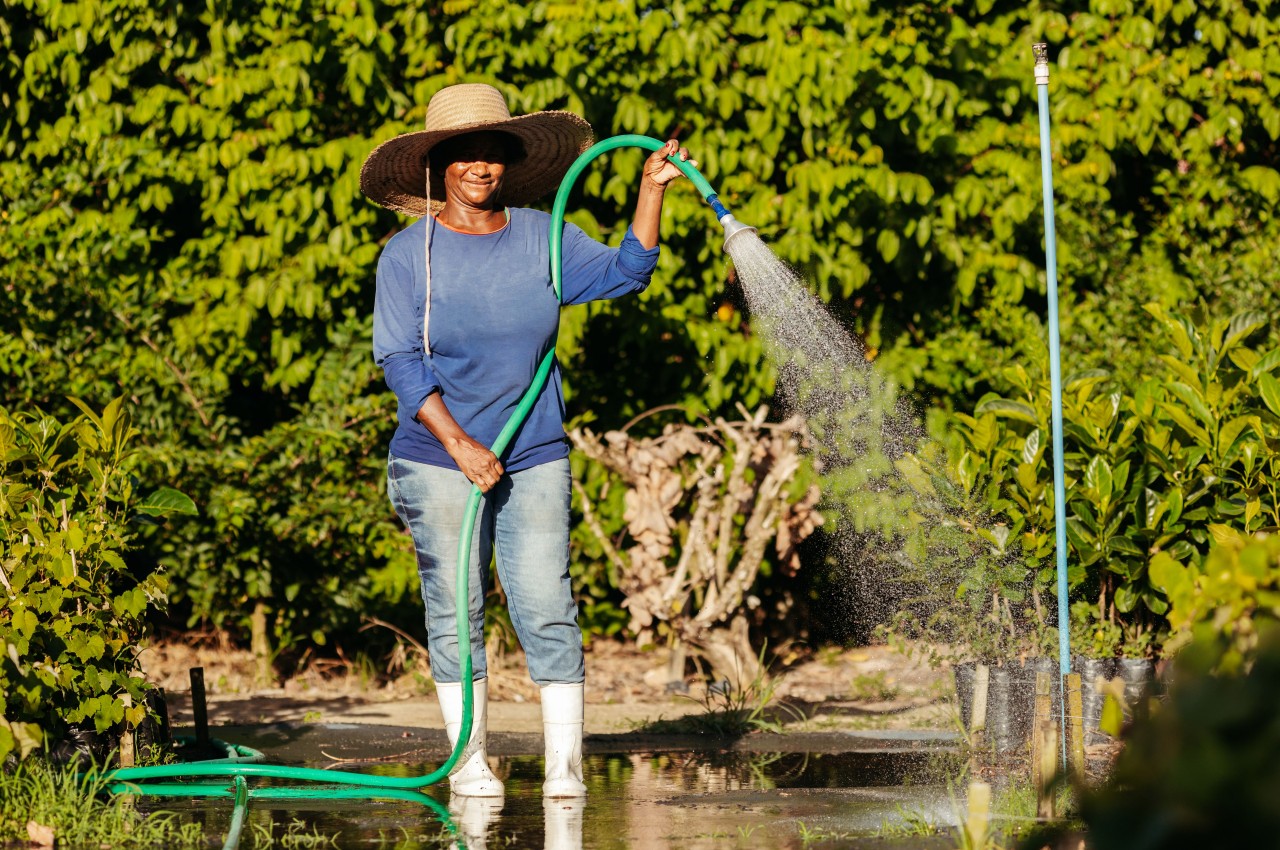
Image courtesy of: wirestock
Water seedlings daily to prevent them from drying out, adjusting frequency as they grow. Newly transplanted seedlings need watering every other day until their roots are established. Afterward, water once a week, considering soil type, humidity, and weather conditions. Clay soil retains moisture longer than sandy soil. Test soil moisture by feeling 3-4 inches below the surface; if dry, water slowly and deeply. Water in the early morning to minimize evaporation.
9. Add Mulch
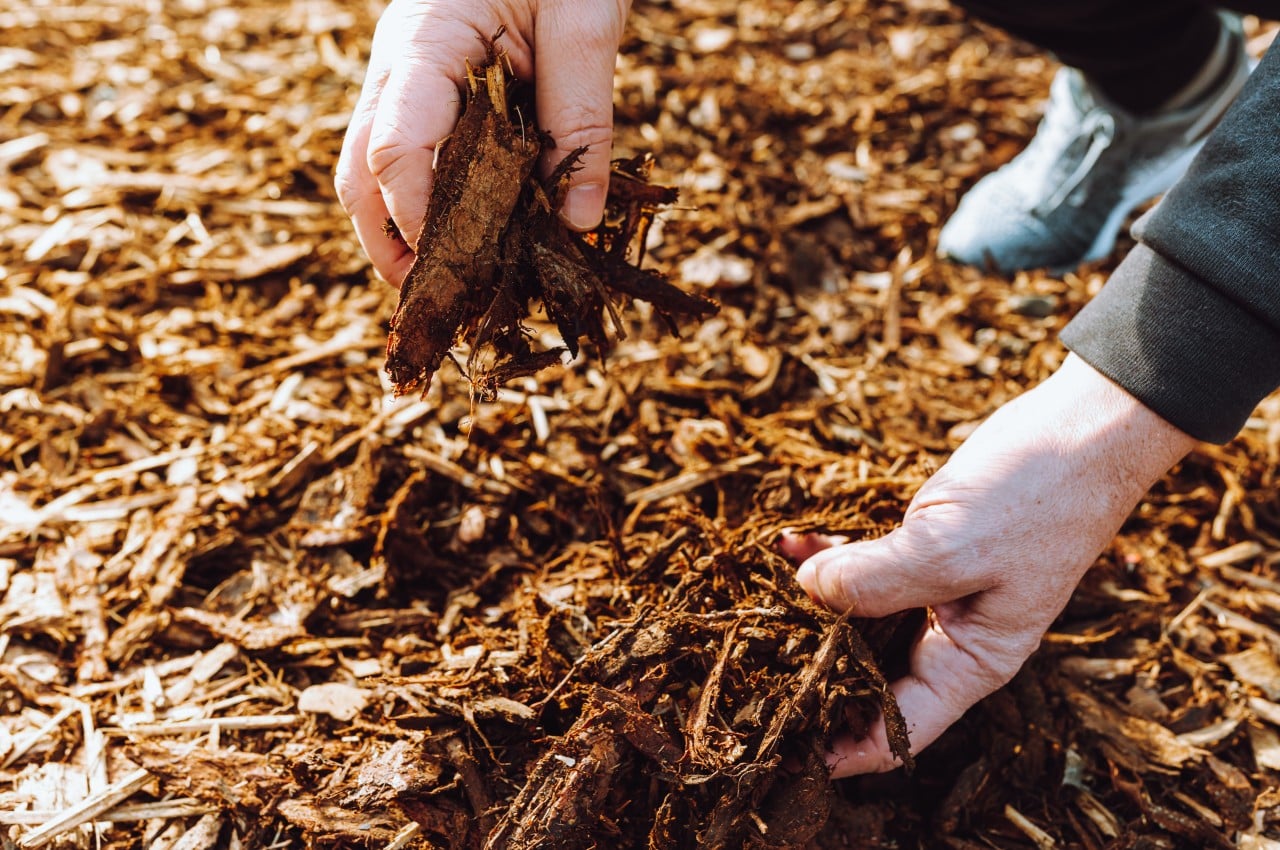
Image courtesy of: larisikstefania
Apply a couple of inches of mulch to the soil for moisture retention and weed suppression, choosing from materials like shredded bark, straw, or river rock. Organic mulches, such as bark or compost, enrich the soil as they break down. Avoid covering seeds you want to grow; opt for quickly decomposing mulches for vegetable gardens, and longer-lasting options like bark chips for perennials. Mulch acts as a protective cover, aiding in moisture retention, soil cooling, and weed suppression, while enhancing the garden bed’s appearance. As organic mulches decompose, they enrich soil fertility. Covering the soil with rocks and organic matter inhibits weed germination and maintains soil moisture and warmth while providing nourishment for beneficial soil organisms. Match the right mulch with each crop: wood chips for fruit trees and shrubs, and lighter options like straw or leaves for delicate vegetables.
10. Maintain the Garden
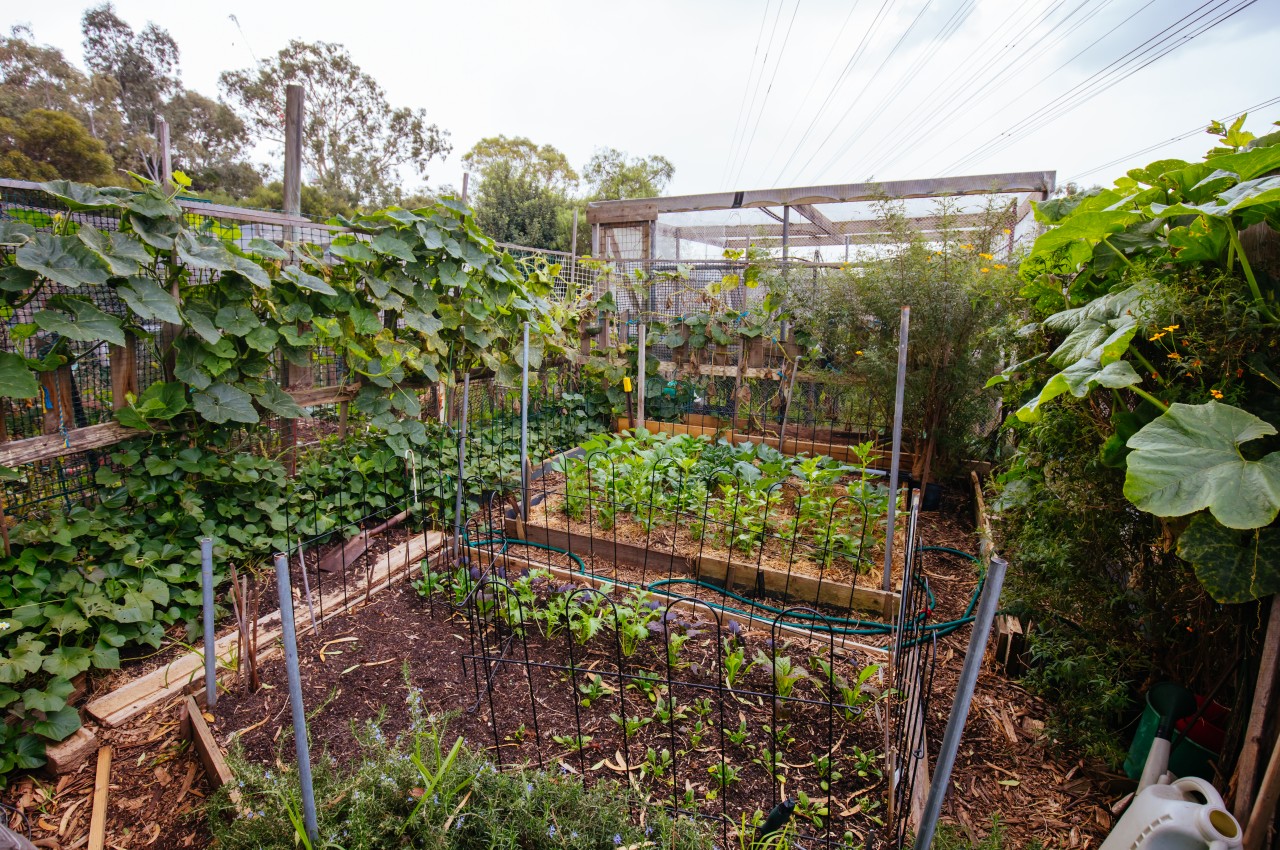
Image courtesy of: FiledIMAGE
Regular maintenance involves watering plants before they wilt, removing weeds before they seed, and clearing away dead or diseased vegetation. Support tall plants with trellises or stakes, and harvest vegetables promptly when ripe. Garden maintenance follows a seasonal rhythm; for instance, in spring, prevent weeds, while summer requires vigilant watering, and fall is meant for pruning and cleanup. Throughout the growing season, attend to your plants’ needs: remove yellow or deformed leaves, stake plants for support, and prune dense growth to improve sunlight and air circulation.
Happy Gardening!